
Thursday, 29 December 2011
Mast

Additionally I use this pipe to hide the wires connected to the 3 signal lamps in the mast, and I used the brass pipe itself for the ground wiring of the lamps.
I found a cheap (Christmas) light chain with 10 small Ø 3 mm white LED's but unfortunately they were too big to fit inside the original kit's signal lamps so I had to make my own.
I used a Ø4mm brass pipe, created an oval hole, shortened it, fitted the LED and glued a slice of Ø3mm wood on top of the LED inside the pipe.
Another thing what can be seen on the mast of the original ship is a long ladder, I tried to create one in the right scale for the model, but my talents (and/or used materials) where not perfect.. so I gave up this idea for now..

Weathered cranes

I found some time to finish the cranes.
For the yellow color (on the entire ship) I use "pale yellow" (no.81) as the base color and "dry brush" it with "trainer yellow" (no.24) to create a more brighter yellow without overdoing it. After this I give it "rust" (no.113), "dark gray" (no.32) and "aluminum" (no.56) to create the weathered look.
I also "weather" the wires/ropes by soaking them in a thinned mixture of "dark grey" (no.32), wipe them clean and give the same treatment again but now with a thinned mixture of "rust" (no.113).
Afterwards I slightly dry brush it with "aluminum" (no.56) and this gives an realistic impression of a "steal wire"..
The mentioned numbers are refering to "Humbrol" enamel colors.

Sunday, 11 December 2011
Crane No.1

Finally I can present a preview of one of the 3 cranes.
I used the kit version as a guideline and I tried to copy the original cranes as much as possible by adding more details with common materials like wood, nails, brass and electrical wire.
It took longer time as expected but i think it was worth the efforts..
It took longer time as expected but i think it was worth the efforts..
Saturday, 26 November 2011

Life Boats

Again I used the nails and copper wire to simulate the knobs and ropes on the side of the boat, and I added stabilizer bars and a rain cover.
The rain cover is cut out of a (black) "report cover".
Monday, 31 October 2011
Lower decks

I'm not sure how to bend the railing in shape in one piece without losing the "straight lines" and the sharp edges, so I cheated by "cutting" them in the 90 degree corners and soldier them together afterwards
Sunday, 23 October 2011
"rusty look"

After the "shiny" look, here's the "rusty" look.
I might have overdone it a bit, but after having looked at it for a while it actually starts to appeal to me..
Sunday, 9 October 2011
In theory she’s ready to sail now..

I added some visual details on the rudders and the only thing left on the hull is to get rid of the "shiny surface"..
Saturday, 1 October 2011
Bow with details

I'm really satisfied with the result so far..
Tuesday, 27 September 2011
Lower deck complete

For achieving this look I painted the parts in their normal base color, for example "mat black" (Humbrol No.33).
After this layer I "drybrush" it (not to heavily) with "dark Grey" (Humbrol no.32) to achieve a more dirty look, on top of this I "drybrush" "rust" (Humbrol no.113)
Sometimes as the final touch and to achieve a metallic look I “drybrush” it with "aluminum" (Humbrol no.56) on strategic places.
Friday, 23 September 2011
Life Boat

The rope on the sides is copper wire (as this stays in the shape you bend it), and the "knobs" are shortened nails which were included in the kit.
As you might have notiched, I also added some more details to the middle deck..

Equipped Lower deck preview

I spend some time on the lower deck details and try to give it an worn out / used rusty look by using a technique (found on the internet) called "drybrushing", I spend some money on dedicated “drybrushes” and I’m very positive about the results.
It is an simple and efficient technique and creates the look I was looking for, the only worry now is not to overdo it..
Thursday, 22 September 2011
Colorful and shiny

The colors I used are humbrol enamel paint no.48 "Mediterranean Blue" and No. 69 "Yellow" together with No. 21 "Black" and No. 19 "Bright Red"
Black..

I find it very easy to cover the parts with aluminum foil, it's very easy to shape and always stays in the shape you want it.
…I haven’t found the perfect tape yet, I’m open for any suggestion…
The Ferrari look

I started with painting it with 5 layers of the same acrylic polyurethane based lacquer as I did on the inside, after this i primed the hull for finding any imperfect spots on it, and sanded/filled and primed several times until I was satisfied with the result..
At this stage I already airbrushed the "Ferrari red" humbrol color no.19 underwater line on the hull..
Wednesday, 21 September 2011
Middle deck preview

Not really finished yet, but you can already get a feeling how it will look.
Note: I also added more detail to the "boxes" on deck, not exactly as they are shaped originally but that's more because of the limitations of wood, lack of other materials and my skills and creativity in general..
Tuesday, 20 September 2011
Upper structure

Also on the upper structure I will prepare several cabin windows with backlights, switchable in 2 different groups.

Rudder shape

As the original, I shaped the rudder with an sharp edge.
For fixing the rudder to the shaft I used an wire going through the rudder and soldiered it on both ends of the "brass holder", which again is soldiered to the shaft itself..
Monday, 19 September 2011
Keel extention

At this stage I also added the side and stabilizers strips on the Hull and started to position the propeller guards
The "Engine room"

As the max. rotation speed at 12 V seems to be app. 5600/min it is possible to drive the shafts without any gear in between, I used the heavy-duty coupling from Robbe "no. 1446" and I expect quite some power..

Impressive i must say..

To improve the stability of the hull I gave the inside of the hull app. 5 coats of an quick drying acrylic polyurethane based lacquer
The hull seems to be pretty stable to me afterwards, additionally I will give the outside of the hull the same treatment..
The bow.. more or less in shape..

While trying to achieve the perfect shape, you also might notice that the hull is not very thick everywhere and needs extra care to get more stability

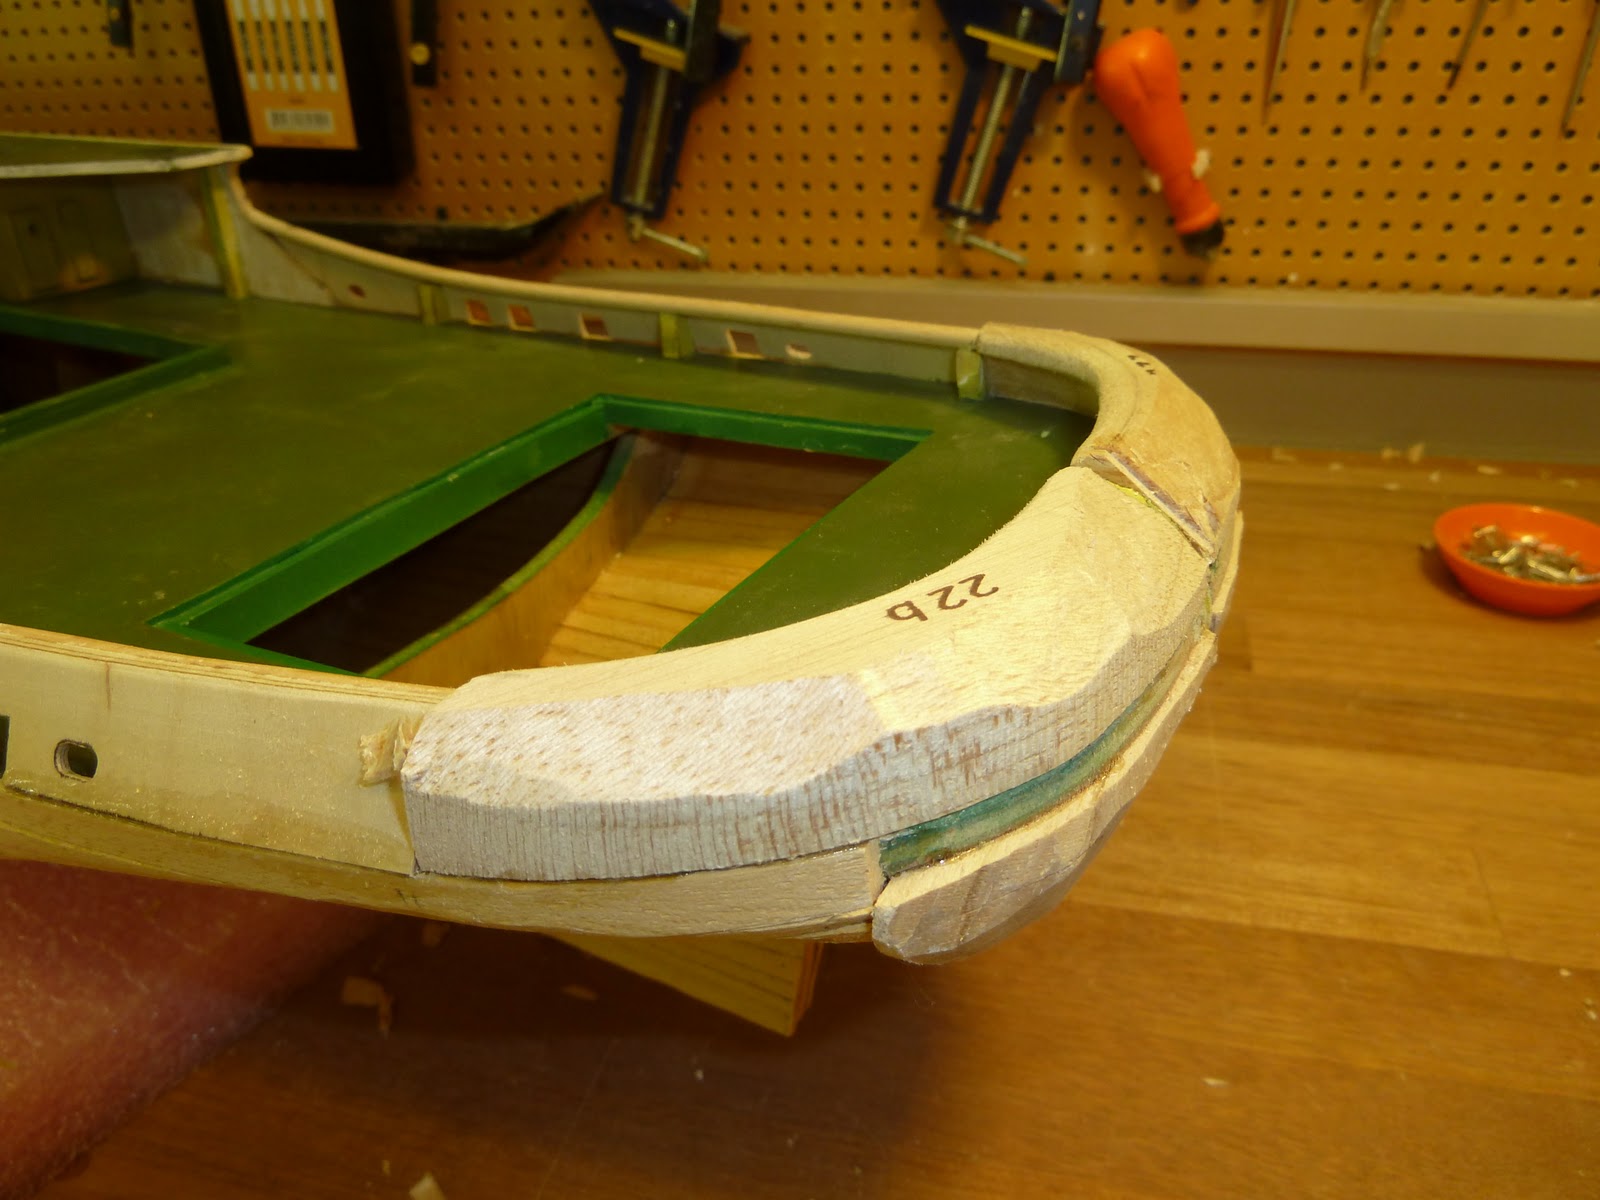
Finishing loose ends before sanding

Only the "top part" of the stern is left before I can sand it into its final shape..
Sunday, 18 September 2011


Saturday, 17 September 2011

Front view after Planking

Here a front view picture.. also at this stage I realize that I should have placed the water inlet for the water-cannons "out of sight" in the bow thruster pipe, unfortunately too late for me, so I will have to find an alternative place for it..
Friday, 16 September 2011

Almost there..

a close up of the front planking and bow thruster hole..
An experienced model kit builder might be able to see here that I’m using "UHU Hart" as the glue compound, even dough it works fine, I’m not too convinced that this is the most suitable glue for wood..
I find it sometimes drying to quick and difficult to dose, maybe someone can tell me what other good alternatives there are ?

Strips Bathtub..


Strips part2

I decided to "glue" the strips in place while keeping them in place with help of needles, instead of making use of the nails included in the kit.

Bow thruster position

Because of the design of the bow thruster (raboesch) , it didn't fitted in the correct position without removing some parts of the frames and the keel..
So after a few modifications and a bit of extra material everything fits but will most likely never be reachable again.
"Dirty look"

At this stage I’m still not really satisfied with the results, but I think it looks much better than the "plain" humbrol "brown" (No.133) I decided to use..
The "old rope look" however meets my expatiations..
Middle Deck and Structure

I have the intention to build lights (switchable in 2 different groups) behind a few of the cabin windows
Lower Deck

I couldn't resist.. I have to paint the decks in the color i believe is better than the suggested "egg duck blue" no.23 from Humbrol paints (i used no.88 "Deck Green" as the basecoat and airbrushed it not to heavily with no.102 "Army Green")
Building the motor hatch ?

To get used to work with wood, and to find out how exactly the lines are marked on the wood, I made very sure not to cut the parts too small..
After consulting the web and looking at several pictures of the Smit Rotterdam, i noticed that the details of this kit are not too impressive so far, so I decided to go a bit more in detail on the motor hatch
The Beginning...

This is where this build more or less got started..
It started "late december" in 2010 where I had the opportunity to take over this model of the Smit Rotterdam ..After only having build a few "plastik" models in my younger years i can't really tell how this project will end.
My intensions are to have it RC controlled with different sorts of remote controlled surprises like watercanon, rotating radar, lights and I would like to create an overall realistic "worn out look" ..
Subscribe to:
Posts (Atom)